Lightroom Classic tethering: setup, settings and fixes for "no camera detected"
A step-by-step guide to tethered capture in Lightroom Classic for headshot days, plus the fixes that work when Lightroom won't see your camera.
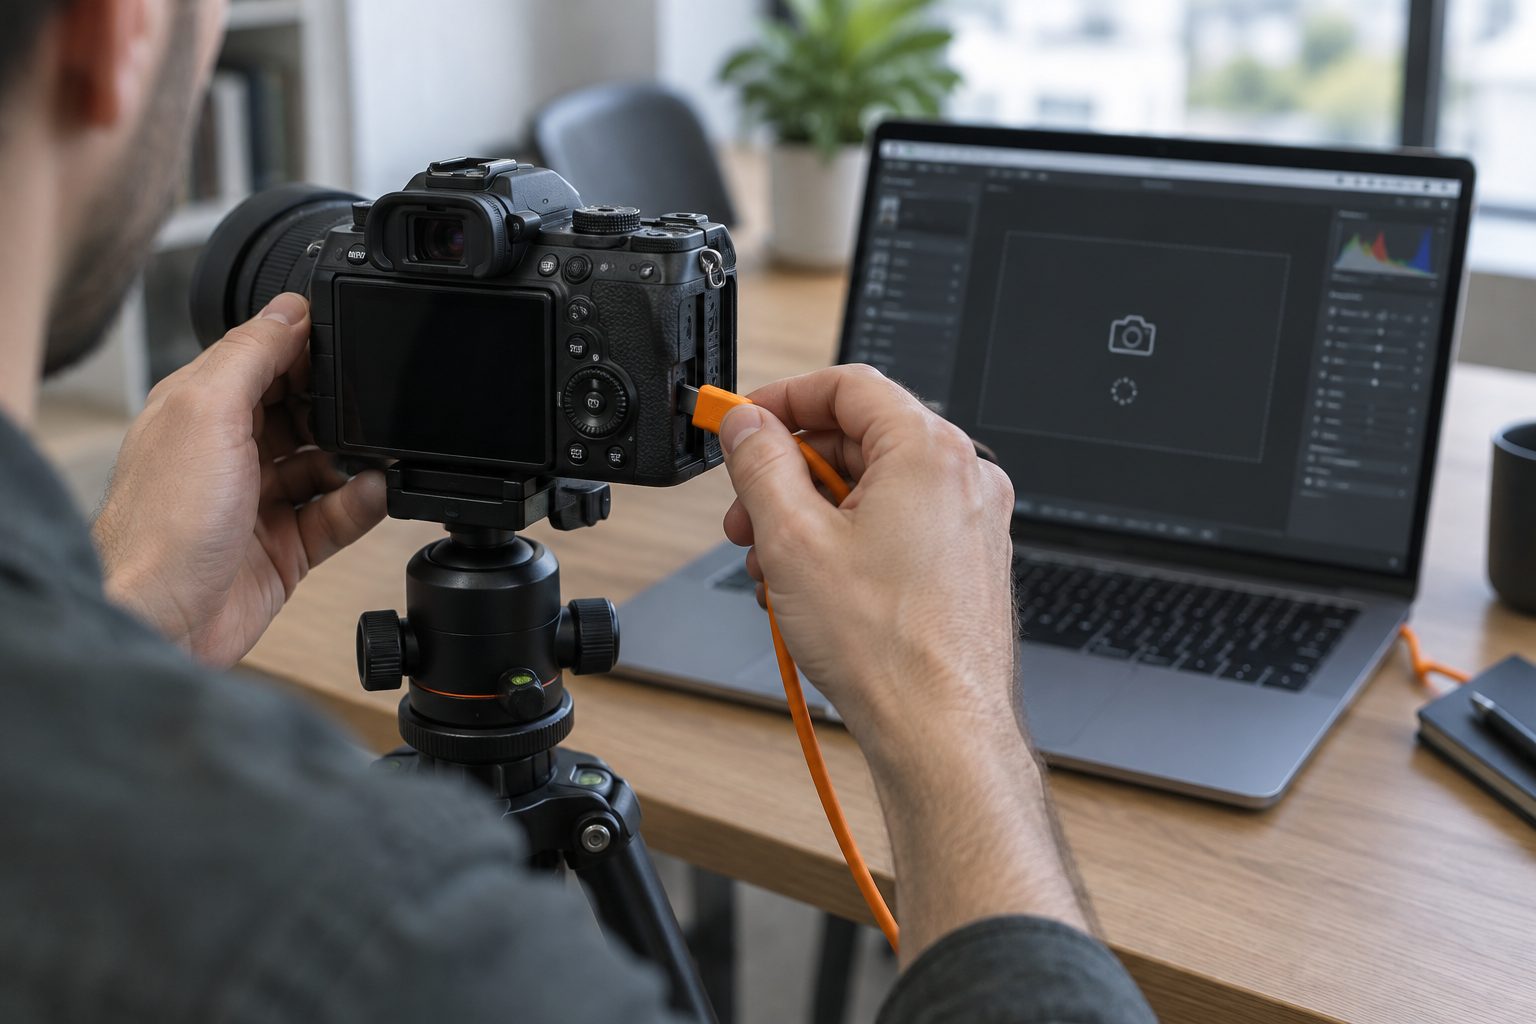
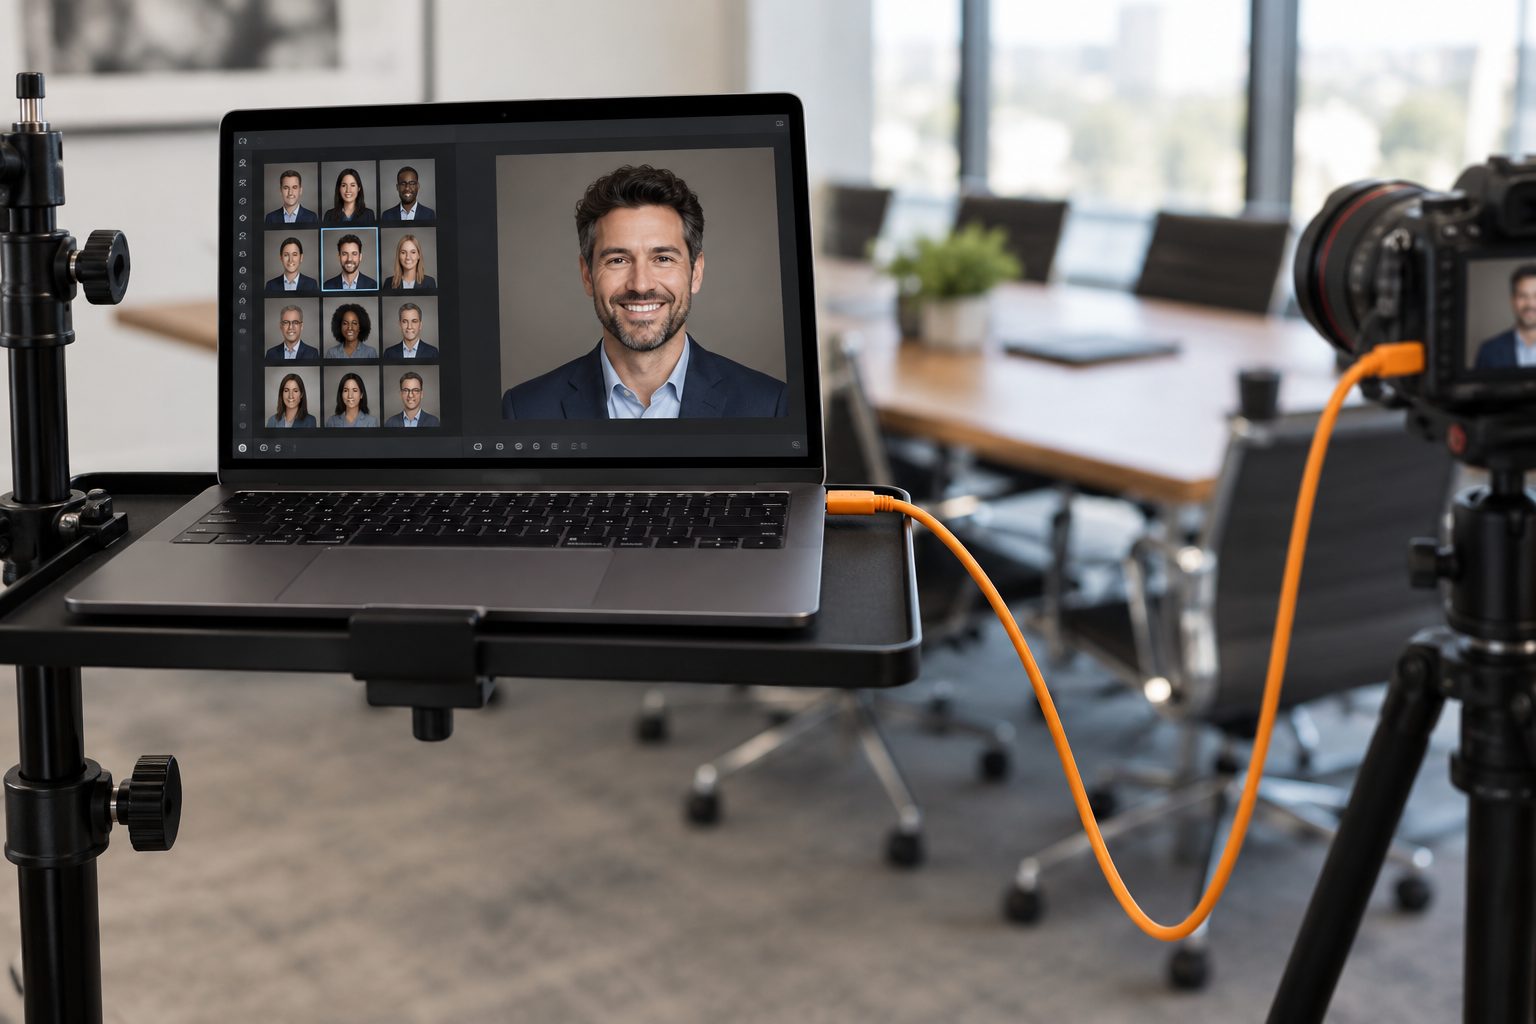
Lightroom Classic's tethered capture is the default for a lot of headshot photographers, simply because they already edit there. When it works, it's lovely: every frame lands in your catalog with your preset applied, and you can show the sitter a polished preview in seconds. When it doesn't, it's a blank "No camera detected" bar with a client watching.
This guide covers the setup we use on headshot days and the fixes that have saved us.
Before you start: check camera support
Lightroom Classic only tethers with the camera models Adobe lists as supported, and that list changes with updates. Search Adobe's "tethered camera support" page for your exact body before you rely on it for a paid job. If your camera isn't there, skip to the workaround at the end of this guide.
Setting up a tethered session
- Connect the camera with a good USB cable and turn it on. On many bodies you'll want the USB or PC connection mode set to remote or PC control.
- In Lightroom Classic, open File > Tethered Capture > Start Tethered Capture.
- Session name: use the client and date, for example
Northwind-2026-11-09. Tick Segment photos by shots if you want to type each sitter's name as a "shot", which Lightroom uses in the folder name. - Naming: pick a template that includes the shot name and a sequence number, such as Shot Name - Sequence. That gives you files like
Grace-Lin-003.CR3. - Destination: choose a fast local folder. Avoid cloud-synced folders during the shoot; sync programs can lock files and slow everything down.
- Metadata and keywords: add your copyright template and the client name as a keyword.
- Click OK. The tether bar appears with your camera's name and settings.
On the tether bar, set Develop Settings to your headshot preset so each frame arrives with your look applied. Turn on Loupe view and set the second window to full screen on an external monitor if you use one for sitters.
Settings that matter on a headshot day
- Disable auto power-off on the camera. A sleeping camera is the most common "lost connection".
- Turn camera Wi-Fi and Bluetooth off. On several bodies they compete with USB tethering.
- Shoot RAW+JPEG only if you need it. Big RAW files plus JPEGs double the transfer. Many shooters tether RAW only and let Lightroom render previews.
- Set the laptop never to sleep and plug it into power. Battery-saving modes throttle USB ports.
- Use a new shot name per sitter. Click the shot name in the tether bar (or press Cmd/Ctrl+Shift+T) and type the next person's name before they sit down.
When Lightroom says "No camera detected"
Work through these in order. Most problems are solved by the first three.
- Close the camera maker's software. Canon EOS Utility, Nikon's transfer tools and similar apps often auto-launch when you plug in a camera and grab the connection first. Quit them, and stop them launching at login.
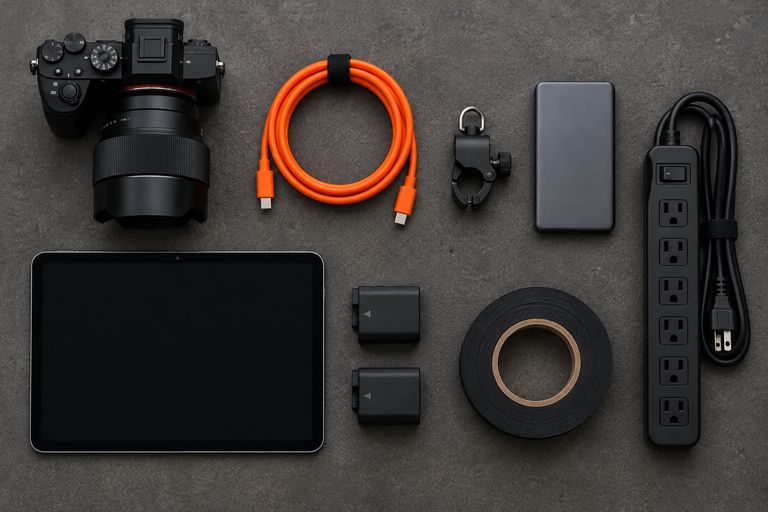
- Swap the cable and port. Try a known-good cable straight into the laptop, no hub. Cheap or long passive cables are the most common hardware cause. See our tethering gear guide.
- Restart in the right order. Camera off, quit Lightroom, connect the cable, turn the camera on, open Lightroom, start tethered capture.
- Check the camera's connection mode. Look in the menu for USB connection, PC remote or similar, and choose the remote/PC option rather than mass storage or charging.
- Update Lightroom and the camera firmware. Tether support for new bodies often arrives in point releases.
- On macOS, check permissions. Make sure Lightroom has access to the destination folder (Files and Folders, or Full Disk Access) and that no security tool is blocking the camera.
- Test with the maker's own app. If EOS Utility or NX Tether can't see the camera either, it's the cable, port or camera, not Lightroom.
The workaround: tether elsewhere, Auto Import into Lightroom
If your camera isn't supported or the tether keeps dropping, tether with the camera maker's app or Smart Shooter into a folder, and point Lightroom at it with File > Auto Import > Auto Import Settings. Lightroom then imports every new file from that watched folder, applies your preset and moves it into your catalog. It adds a second or two, but it's often more stable.
Where ShootPick fits
ShootPick watches the same destination folder Lightroom's tethered capture saves to, so you don't change anything in Lightroom. Each frame is grouped under the sitter in front of you, and they pick their favorite on an iPad at your station. Afterwards you can export everyone's picks as a filename list to filter or flag them in your catalog. Setup steps are on our integrations page.
FAQ
Why won't Lightroom Classic detect my camera?
Usually another app (often the camera maker's utility) has grabbed the connection, the cable or port is faulty, or the camera isn't on Adobe's supported list. Quit other camera apps, try a known-good cable directly into the laptop, and check Adobe's tethered camera support page.
Can I tether a Fujifilm camera into Lightroom Classic?
Fujifilm tethering into Lightroom has historically needed Fujifilm's own Lightroom tether plug-in rather than Lightroom's built-in tether. Check Fujifilm's current software page for your body.
Is Lightroom tethering good enough for professional headshots?
For many photographers, yes, as long as the camera is supported and the setup is tested. Photographers who tether all day, every day, often move to Capture One or Smart Shooter for stability.